

Affinity Moving · October 18, 2026
← All articlesTo pack dishes for a move, use sturdy boxes with a taped bottom, pad the bottom with a few inches of crumpled paper, wrap every piece individually in packing paper, stand plates on their edges, fill every gap, and shake the box gently before sealing it. Do those six things and most breakage never happens. This guide walks through each one, with the materials to buy, the mistakes to avoid and the point where it makes sense to hand the job to professionals.
TL;DR
- Prepare the box first: reinforce the bottom with several strips of heavy-duty tape and add 2 to 3 inches of wadded paper before the first dish goes in.
- Wrap each piece separately in clean packing paper, and stand plates and bowls on their edges like records, not flat in a stack.
- Leave no empty space. Do a shake test before you seal, and add paper, towels or linens if anything moves.
- Keep boxes light enough to lift comfortably, and label the top and the sides: Fragile, This Side Up.
- Budget at least a full day for a whole kitchen. If that is too much, a packing service can take it off your list.
Table of Contents
- Why dishes break in moves
- What you need before you start
- How long it takes
- Step-by-step: how to pack plates and bowls
- Packing glasses and stemware
- China, heirlooms and sets with sentimental value
- The shake test: the step most people skip
- Weight, sealing and labeling
- Our perspective: what we see on move day
- When it makes sense to have someone else pack
- Common mistakes to avoid
- FAQ
- Sources
Why dishes break in moves
Dishes rarely break because the truck hit a bump. They break because of how the box was built and filled. According to moving industry experts cited by Home Depot, most breakage comes from improper box preparation: a bottom that was not reinforced with several strips of heavy-duty tape, and no 2 to 3 inches of wadded paper under the first layer.
The second cause is empty space. Items that can shift will knock together for the whole ride. The Kitchn describes this as clatter breakage: nested, unwrapped or badly wrapped pieces chip or crack from vibration alone.
The third cause is weight. Dishes are dense, and Martha Stewart’s guidance names overloading as the biggest mistake. A box that is too heavy to lift comfortably is much more likely to be dropped or to collapse under its own weight.
Everything below is built around those three problems: a strong base, a snug fit and a manageable weight.
What you need before you start
Gather everything before you wrap the first plate. Stopping halfway to hunt for tape is how corners get cut.
| Item | What to look for | Why it matters |
|---|---|---|
| Boxes | Small or medium, double-walled corrugated. Dish-pack boxes if you can get them | Dishes are heavy, and a strong small box keeps weight manageable |
| Packing paper | Clean, plain, ink-free newsprint-style sheets | Molds tightly around fragile shapes and takes up less space than bubble wrap |
| Packing tape | Heavy-duty, 2 inches wide | The bottom seam carries the weight |
| Cushioning | Extra wadded paper, dish towels, linens | Fills gaps and lines the top |
| Markers | Thick permanent marker | Labels on top and sides |
| Optional | Foam pouches, cell dividers, glove-style dish kits | Faster for large sets, reusable |
Boxes: dish-pack or standard?
Specialized dish-pack boxes, often double-corrugated, are the gold standard for breakables. But Martha Stewart’s guide notes that standard boxes work if you create a snug fit where nothing can shift and reinforce the box with good tape. For your everyday plates and bowls, a sturdy small box is fine. For heirloom china, spend the extra money on a proper dish box.
For reference on strength, USPS shipping guidance for fragile items calls for high-strength fiberboard boxes rated at least 175-lb test, with individually wrapped items kept away from the walls by cushioning. Moving is not shipping, but the principle carries over: the contents should never touch the outside of the box. Aim for about 2 inches of padding around each side.
Reusing boxes is fine if they are still stiff and the corners are not crushed. A box that has been wet or has soft walls should go to recycling.
Paper beats bubble wrap for the first layer
It surprises people, but plain packing paper is usually better than bubble wrap for direct contact with dishes and glasses. Bubble wrap is bulky, less flexible than paper and leaves air pockets that let items shift. Paper can be molded tightly around handles, rims and stems, and it is more space-efficient. U-Haul’s product notes on packing paper describe clean newsprint sheets for this purpose. Save bubble wrap for the outer layer on very delicate pieces, or for lining the box.
Use clean, unprinted paper if you can. Newspaper works in a pinch, but the ink rubs off, so you will be washing everything at the other end.
How long it takes
Kitchens are slow. Martha Stewart’s 2026 guidance puts a full kitchen at 8 hours or more, which makes it the most time-intensive room in most moves. Because you cook and eat there every day, pack it last and unpack it first.
A practical approach: pack the things you do not use (serving platters, holiday dishes, the good china, extra glassware) weeks ahead. Keep one place setting per person plus a pot, a pan and a few utensils out until the last day. For a full room-by-room schedule, see our packing order guide, and for timing in general, when to start packing.
Step-by-step: how to pack plates and bowls
- Build the box. Fold the flaps, then tape the bottom seam and run extra strips across it, perpendicular to the seam. A bottom that gives way is the classic failure.
- Pad the base. Crumple sheets of packing paper into loose balls and lay 2 to 3 inches across the bottom. Think of it as a mattress for the first layer.
- Wrap one plate at a time. Lay a sheet of paper on the table, set a plate in the center and pull the corners over it. Rotate and keep wrapping until the plate is covered. Add a second sheet for fine china.
- Bundle small stacks. Once you have wrapped 3 to 5 plates individually, wrap the stack together in another sheet. Each plate must still have its own paper layer. Bare plates touching each other is where chips come from.
- Stand the bundles on edge. Place them vertically in the box, like records in a crate. Professionals prefer this because, as This Old House explains, flat stacks act like springs that amplify bumps, while the edges of dishes are stronger than their centers.
- Pad the gaps. Push crumpled paper into every space along the walls and between bundles.
- Add a layer if needed. Put a layer of crumpled paper on top, then repeat with lighter items such as saucers or bowls.
- Top it off. Finish with 2 or more inches of padding so the flaps close without bulging and nothing rattles.
- Shake test, then seal. See below.
Bowls, mugs and cups
Bowls and mugs can be nested, but only with paper between each one. The Kitchn is blunt about it: simple stacking of poorly wrapped nested pieces is a main cause of cracks and chips from vibration. Wrap each bowl, nest two or three together, wrap the nest and pack it upright or on its side with padding around it.
Mugs with handles are easy to snap. Stuff a little paper into the mug, wrap the whole thing, and set the handle in a spot where nothing presses against it.
Serving platters and oddly shaped pieces
Treat large platters like plates, but wrap them in two layers and stand them on edge along the wall of the box. Pieces with lids, such as sugar bowls, teapots and casserole dishes, need the lid wrapped separately. Tuck paper inside any hollow before wrapping.
Packing glasses and stemware
Glasses are lighter than plates but more fragile at the rim and stem. The Spruce estimates the job at one to two hours and the cost from $0 to $20 for a basic set of glasses.
- Pack glasses upright or on their sides, not upside down on the rim.
- Stuff a loose ball of paper inside each glass, then wrap the outside, starting at the base.
- For stemware, wrap the stem on its own first, then the bowl, then the whole piece.
- Put heavier glasses on the bottom layer, lighter ones above, with a paper layer in between.
- Pack in a single or double layer, never more.
Wine glasses, decanters and liquor bottles have their own quirks. We cover them in detail in our guide to packing wine glasses, liquor bottles and glassware.
China, heirlooms and sets with sentimental value
For the good china, slow down. Use dish-pack boxes if you can, wrap each piece in two sheets, and consider foam pouches or cell dividers that isolate each item. Photograph the set before you pack it. If something does get damaged, you will have a record for any claim.
Label these boxes separately and carry the most irreplaceable ones in your own car. Items with a value beyond the replacement cost, like inherited pieces, are best moved by you or by a crew you have briefed in advance. For other delicate belongings, see packing fragile items and jewelry.
The shake test: the step most people skip
Before you seal a box, close the top flaps without taping and give it a gentle shake. Listen and feel. If anything shifts or clinks, open it and add wadded paper, dish towels or linens until the contents are snug. USPS packaging guidance emphasizes padding to prevent shifting and to separate the item from the container surfaces, and a loose box is the single biggest failure point in DIY packing.
Towels and linens are a good use of space. They fill gaps and you have to move them anyway. If you want a deeper walkthrough, our article on packing a dish box without rattling goes through it.
Weight, sealing and labeling
Weight. Keep a dish box to a weight you can lift without straining. Many guides suggest staying under about 45 pounds, and dishes get there fast in a medium box. Pick smaller boxes for plates and books alike. If you have to choose between a heavy box and an extra box, buy the extra box.
Sealing. Tape the top seam, then add strips along the edges. Do not overfill so that the flaps bow upward, because stacked boxes will crush a bulging lid.
Labeling. Write on the top and on at least two sides. In a truck, boxes are stacked, and a label only on top disappears under the next box. The USPS preparing packages guidance is written for mail, but the same logic applies: mark Fragile and This Side Up with arrows so the people carrying it know how to hold it. Add the destination room too. We cover a full system in labeling moving boxes by room.
Our perspective: what we see on move day
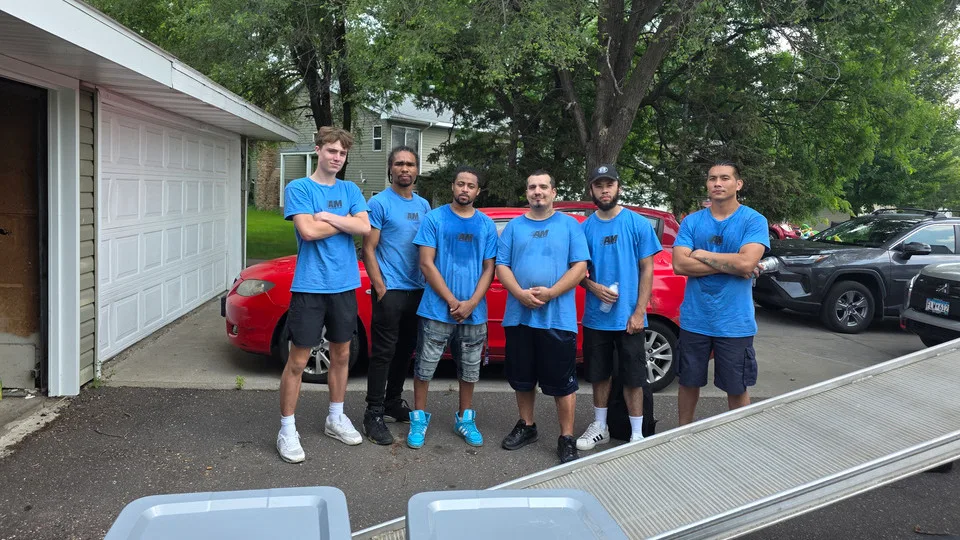
We move households across Minneapolis and the Twin Cities, and the dish box tells us a lot about how a pack went. The boxes that arrive intact are almost never the expensive ones. They are the ones with a taped bottom, a paper cushion, every piece wrapped and no empty corners.
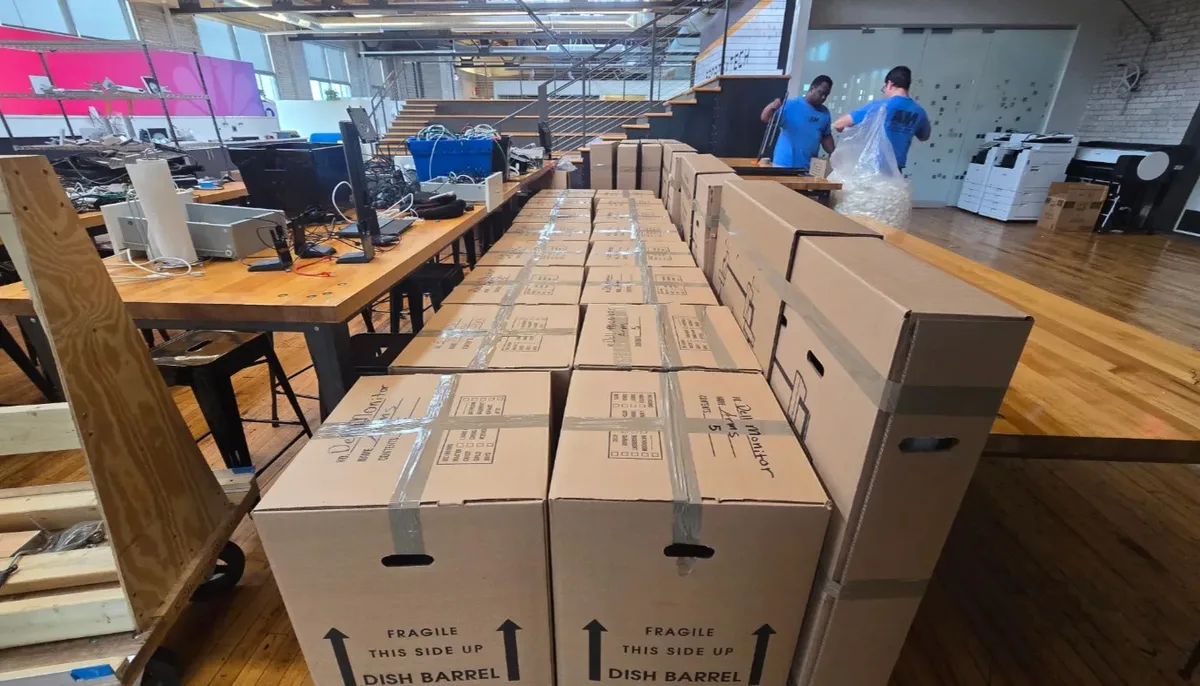
The boxes we worry about are the oversized ones full of plates, packed on the last night. They are heavy, they bulge and they get stacked under other things. If you only change one habit, make it this: use smaller boxes and fill them completely.
Our approach to a move is to give you a written plan well ahead of move day, so that nothing about the kitchen is a surprise. That means telling us about the china cabinet, the glass-front hutch or the piano in the dining room, so the crew arrives with the right materials and enough time. Packing the kitchen yourself is entirely reasonable. Handing it to a trained crew is reasonable too, and often saves the evening before the move.
— Derrick
When it makes sense to have someone else pack
Do it yourself when you have a few weeks, a modest kitchen and some patience. Consider a professional pack when:
- You have a large collection of china, crystal or glassware.
- You are moving on a short timeline, or you work long hours.
- You are moving from a multi-story home, a high-rise or a loft where every extra trip costs time.
- A family member needs help, for example during a senior move.
- You want the crew to carry and place the boxes they packed themselves.
We offer packing services and materials for Minneapolis and Twin Cities moves, from supplies only to a full pack, plus unpacking, furniture disassembly and reassembly, and specialty items like pianos and antiques. Our estimates are written and based on the size of the move, access, distance and timing, so you know what to expect before moving day. For a move across town, see our local moving services, or request a free estimate.
Common mistakes to avoid
- Skipping the bottom reinforcement. One strip of tape is not enough for a box of plates.
- Stacking plates flat. Stand them on edge.
- Using bubble wrap alone. It leaves air pockets. Use paper as the first layer.
- Packing the whole kitchen in one afternoon. Spread it across several sessions.
- Mixing heavy and fragile items in a big box. Keep heavy pots separate from stemware.
- Labeling only the top. Mark the sides too.
- Forgetting the unpack. Put a box of essentials, like a kettle, mugs and a few plates, where you can find it on day one.
FAQ
Should I use packing paper or bubble wrap for dishes?
Use packing paper for the layer touching the dish. It molds tightly to curves and does not leave the air pockets that let items shift. Bubble wrap works as an outer layer on very delicate pieces or as a liner for the box.
Do I need special dish boxes?
No, but they help. Double-corrugated dish-pack boxes are the best protection, especially for china. Standard small boxes work for everyday dishes if the bottom is reinforced, the fit is snug and the weight stays manageable.
Is it better to pack plates flat or on their edges?
On their edges. Vertical packing spreads the load across the stronger rims of the plates, and flat stacks tend to transmit bumps through the whole pile. Wrap each plate individually and pad the sides before you close the box.
How many boxes will I need for my dishes?
It depends on the household. A set of everyday dishes for a family often fits in a small number of boxes, but china and glassware add more. Buy a few more than you think you need, since small, light boxes are safer than large, heavy ones.
Where should I pack the kitchen in the moving timeline?
Start with rarely used items weeks in advance and leave daily-use dishes for the final days. Pack the kitchen last in the sequence and unpack it first at the new place.
Sources
- How To Pack Dishes for Moving, This Old House
- How to Pack Dishes and Glasses When Moving, Martha Stewart
- How To Pack Dishes and Glasses for a Move, The Kitchn
- How to Pack Dishes and Glasses, The Home Depot
- Packaging Pointers, USPS
- Preparing Packages, USPS Postal Explorer
- How to Pack Glasses When Moving, The Spruce
- Packing Paper for Moving, U-Haul